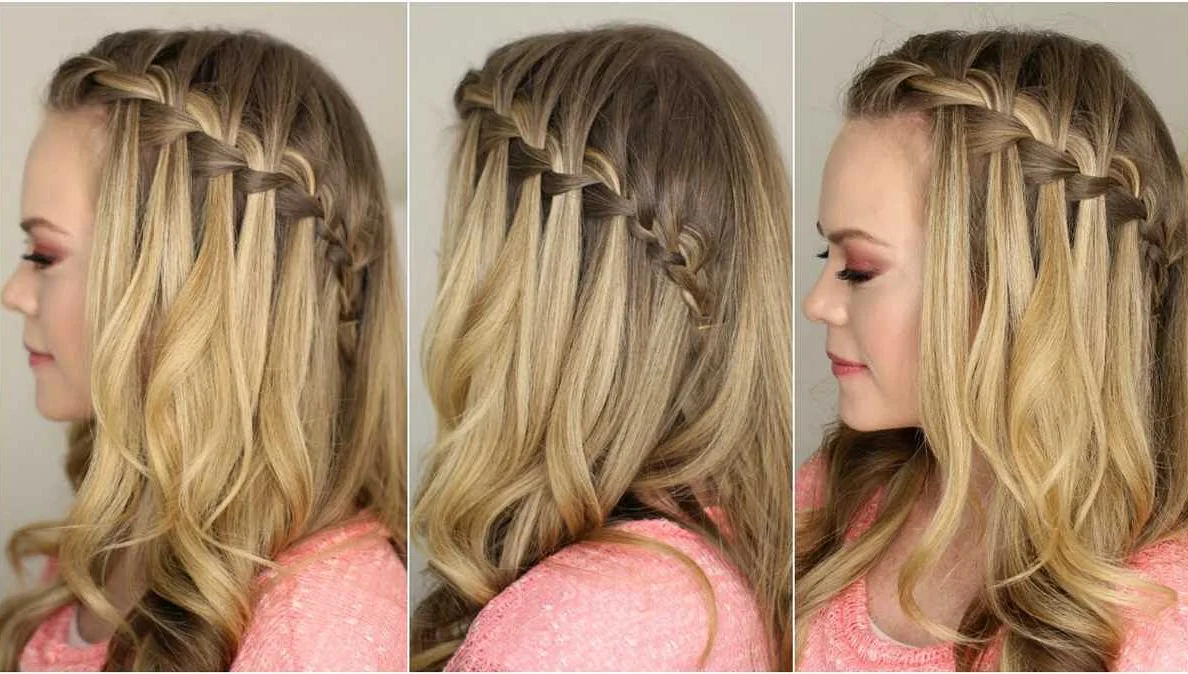
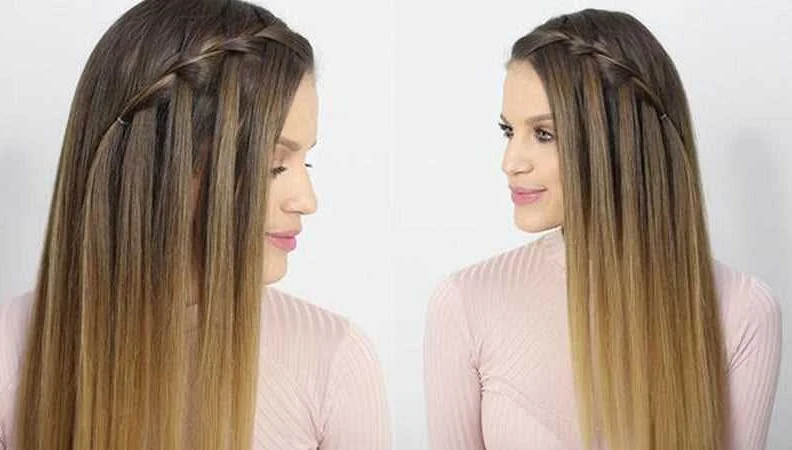
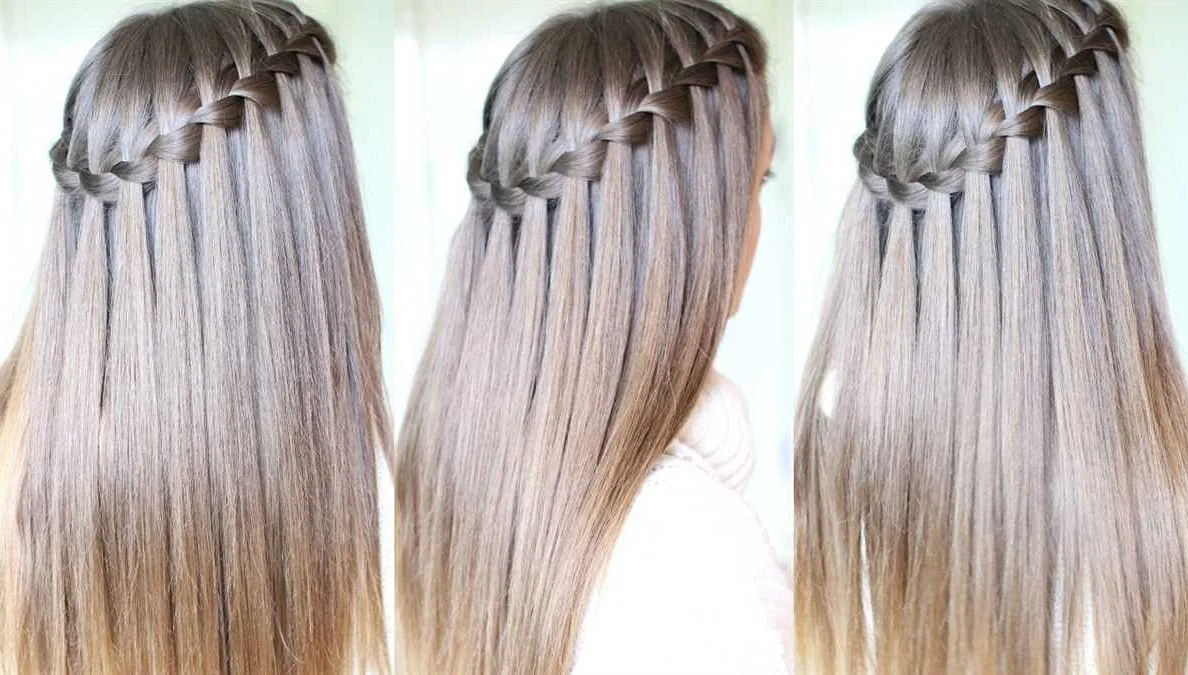
Step-by-step instructions on how to weave a stunning hair waterfall (with photo guide)
Содержимое
Learn how to create a stunning waterfall braid hairstyle with step-by-step instructions and detailed photos. Follow this easy guide to weave a beautiful waterfall from your hair and achieve a stylish look for any occasion.
Are you tired of wearing the same old boring hairstyle every day? Are you looking for a trendy and stunning hairstyle that will turn heads wherever you go? Look no further! In this step-by-step guide, we will show you how to create a gorgeous waterfall braid that will make you feel like a true hair goddess.
Not only is the waterfall braid incredibly beautiful, but it is also surprisingly easy to create once you know the technique. With just a little practice, you will be able to master this intricate-looking braid and wow everyone with your hairstyling skills.
The waterfall braid is perfect for any occasion, whether it’s a casual day out with friends or a formal event. It adds a touch of elegance and sophistication to your look, making it suitable for both everyday wear and special occasions. So why wait? Let’s dive into the step-by-step guide and create a stunning waterfall braid!
Step 1: Prepare Your Hair
To start, brush your hair thoroughly to remove any knots or tangles. This will make it easier to create a smooth and neat braid. If you have particularly long or thick hair, you may also want to apply a small amount of styling product to add some hold and prevent flyaways.
Step-by-Step Guide for a Gorgeous Waterfall Braid
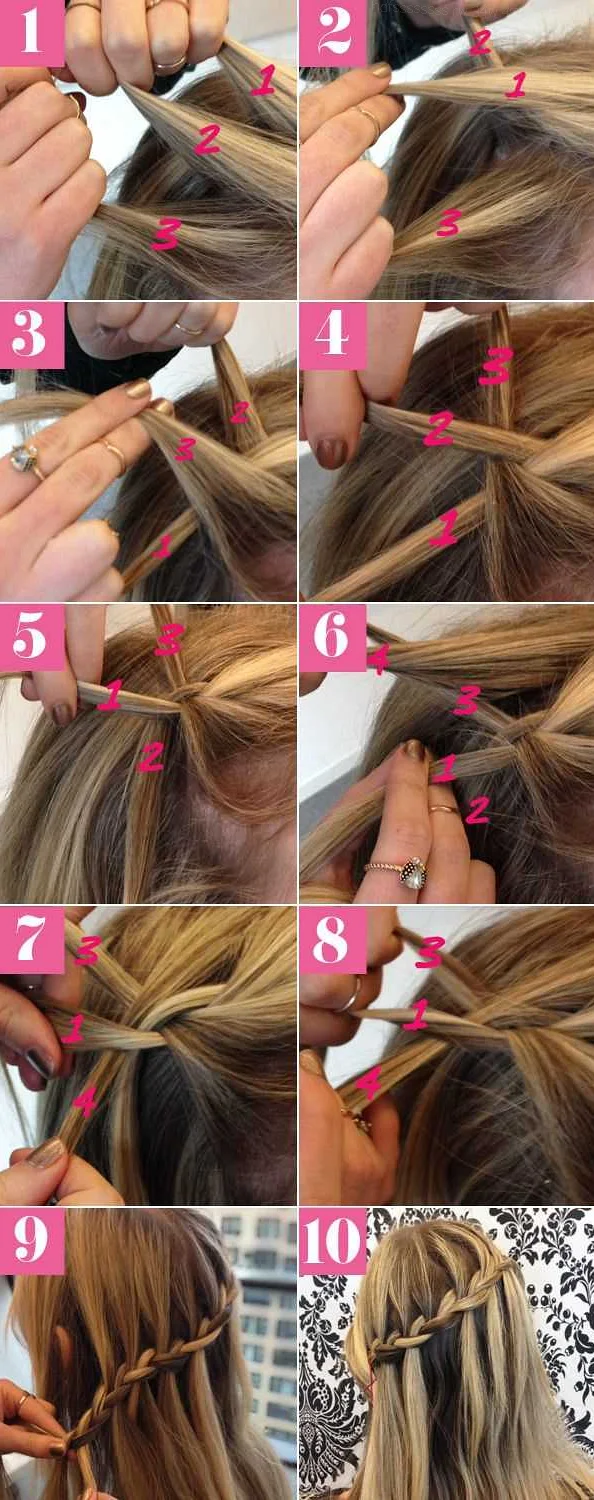
The waterfall braid is a beautiful and intricate hairstyle that adds a touch of elegance to any look. Follow these step-by-step instructions to create your own gorgeous waterfall braid:
Step 1: Start by brushing your hair to remove any knots or tangles. This will make it easier to work with.
Step 2: Take a small section of hair near your hairline and divide it into three equal strands, just like you would for a regular braid.
Step 3: Cross the right strand over the middle strand, then cross the left strand over the new middle strand.
Step 4: Now, it’s time to start incorporating the waterfall effect. Drop the right strand and let it hang loose.
Step 5: Grab a new section of hair from the right side of your head and add it to the existing left strand.
Step 6: Cross the left strand (now with the added section of hair) over the middle strand.
Step 7: Repeat steps 4-6, but this time, drop the left strand and add a new section of hair from the left side of your head to the existing right strand.
Step 8: Continue repeating steps 4-7, alternating between dropping a strand and adding a new section of hair from the opposite side, until you’ve reached the desired length of your braid.
Step 9: Once you’ve reached the end of your braid, secure it with an elastic band or a decorative hair tie.
Step 10: Gently pull on the edges of the braid to make it appear fuller and more voluminous.
Step 11: Finish off your waterfall braid by spraying it with hairspray to keep it in place throughout the day.
Now you have a stunning waterfall braid that is sure to turn heads wherever you go. Experiment with different variations and accessories to make the style your own!
Preparing Your Hair

Before you begin creating your gorgeous waterfall braid, you’ll need to make sure your hair is ready for the styling process. Here are a few steps to prepare your hair:
Step 1: Start with clean, dry hair. It’s important to have a fresh canvas to work with, so make sure your hair is clean and completely dry before you start creating the waterfall braid.
Step 2: Brush out any tangles or knots. Using a wide-tooth comb or a brush with soft bristles, gently brush out any tangles or knots in your hair. This will make it easier to section and braid your hair later on.
Step 3: Apply a small amount of styling product. To help keep your braid in place and prevent any flyaways, apply a small amount of styling product, such as a lightweight hair gel or mousse, to your hair. Be sure to distribute the product evenly throughout your hair.
Step 4: Divide your hair into sections. To create a clean and organized braid, divide your hair into three equal sections: a top section, a middle section, and a bottom section. Use hair clips or elastic bands to secure the sections and keep them out of the way as you work.
By following these simple steps to prepare your hair, you’ll be ready to create a stunning waterfall braid that will turn heads wherever you go!
Sectioning Your Hair

Before you begin creating the waterfall braid, it is important to properly section your hair. This will help you keep track of your sections and ensure that the braid is neat and well-organized.
Start by combing your hair to remove any tangles or knots. Once your hair is smooth, use a tail comb or your fingers to create a horizontal parting across the top of your head, from ear to ear. Clip the top section of hair away with a hair clip.
Next, create another horizontal parting, about an inch below the first one, and clip the middle section of hair away. Finally, let down the bottom section of hair. You should now have three distinct sections: top, middle, and bottom.
Take the top section of hair and secure it with a hair tie. This will keep it out of the way while you work on braiding the lower sections. Make sure the hair tie is secure but not too tight, as you will need to remove it later.
Now that your hair is properly sectioned, you are ready to start creating your beautiful waterfall braid!
Starting the Braid

To begin the waterfall braid, start by brushing your hair thoroughly to remove any tangles or knots. This will make it easier to create a smooth and seamless braid.
Next, part your hair down the middle into two equal sections. You can use a comb to help create a straight part, or you can simply use your fingers to divide your hair.
Once you have divided your hair, take a small section of hair from the front of one side and begin a regular three-strand braid. Cross the right strand over the middle strand, then cross the left strand over the new middle strand.
After completing one regular three-strand braid, drop the strand of hair that was on top. This strand will become the “waterfall” portion of the braid.
Take a new section of hair from the top of your head, near the part, and add it to the top strand of the braid. Cross this strand over the middle strand, and then cross the bottom strand over the new middle strand.
Repeat these steps, dropping the top strand and adding a new section of hair each time, until you have reached the desired length of the braid.
Continue the waterfall braid on the other side of your head, following the same steps. Make sure to drop the top strand each time and add a new section of hair to the top strand before crossing it over the middle strand.
Once you have completed both sides of the waterfall braid, you can secure the ends with a hair elastic or continue the braid into a regular three-strand braid and secure it at the end.
And there you have it – a gorgeous waterfall braid to add some flair to your hairstyle!
Adding Hair to the Braid
Follow these steps to add hair to your waterfall braid:
| Step 1 | Start with a small section of hair near your forehead. Divide it into three equal parts: left, middle, and right. |
| Step 2 | Take the left strand and cross it over the middle strand, then drop it. The left strand now becomes the middle strand. |
| Step 3 | Take the right strand and cross it over the middle strand, then drop it. The right strand now becomes the middle strand. |
| Step 4 | Pick up a small section of hair from the top of your head near the part and add it to the left strand. |
| Step 5 | Cross the left strand, along with the added hair, over the middle strand. Then drop it. |
| Step 6 | Repeat steps 2-5, but this time, pick up a small section of hair from the top of your head near the opposite side of the part and add it to the right strand before crossing it over the middle strand. |
| Step 7 | Continue this pattern, adding sections of hair to the left and right strands before crossing them over the middle strand, until you reach the nape of your neck. |
| Step 8 | Once you reach the nape of your neck, you can either continue the braid without adding hair or secure it with an elastic band. |
Adding hair to the braid creates the cascading waterfall effect by allowing loose strands to flow down from the braid. This technique adds volume and dimension to the hairstyle, giving it a gorgeous and romantic look.
Finishing the Braid

Now that you have completed the waterfall braid, it’s time to finish it off and secure it in place.
Take the two strands that are hanging down from the last stitch of the braid and separate them from the rest of your hair.
Next, twist these two strands together to create a small rope-like section.
Once you have twisted these strands, take a small elastic band and secure the twist in place. This will prevent the braid from unraveling.
If desired, you can gently tug on the loops of the braid to create a more voluminous and textured look.
Finally, you can choose to finish off the braid by using a bobby pin to secure any loose strands or flyaways.
And there you have it! You have successfully created a gorgeous waterfall braid.
Remember, practice makes perfect, so don’t be discouraged if your first attempt doesn’t turn out exactly as planned. With a little practice, you’ll be able to create a stunning waterfall braid that will wow everyone.